Linux and Unix admins are accustomed to using Open Secure Shell (OpenSSH) to connect to servers because it has been included in those systems for decades. Windows users, on the other hand, have traditionally had to download third-party tools like Putty or WinSCP to utilize SSH capabilities.
However, that changed when OpenSSH became available as an optional feature in Windows 10 and Windows Server 2019. Because Windows now natively offers both SSH server and SSH client, there is no reason to ever use telnet or FTP, which have no encryption capabilities — SSH offers superior security when you need to connect to a server or copy files over a network connection.
This article details how to install OpenSSH and use it to securely transfer files using either WinSCP or PowerShell.
What is OpenSSH used for?
OpenSSH is a tool that provides secure communication sessions over a computer network using the SSH protocol. It can be used for a variety of tasks, including the following:
- Securely log in to remote machines to execute commands for server management or technical support.
- Securely copy or move files between two machines.
These tasks are secure because OpenSSH includes the Secure Copy protocol (SCP) and the SSH File Transfer protocol (SFTP), and OpenSSH encrypts all traffic through a secure tunnel, enabling you to transmit sensitive data across the internet or unsecure network. The tunnel is created when the client and server exchange public keys.
How to Add the OpenSSH Feature on Windows
Prerequisites
To install OpenSSH on a Windows machine:
- The device must be running at least Windows Server 2019 or Windows 10 (build 1809).
- The machine must be running PowerShell 5.1 or later.
- You must use an account that is a member of the built-in Administrators group.
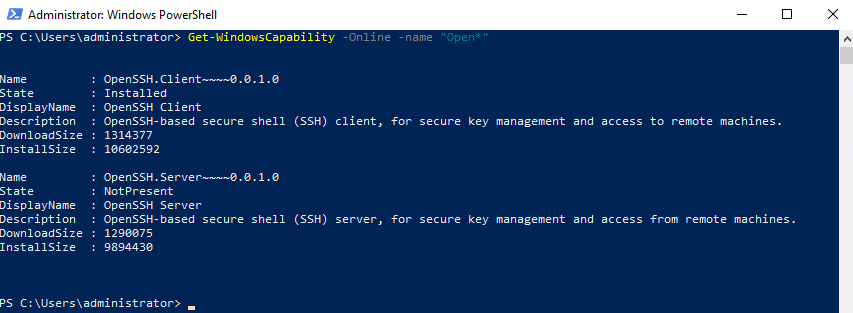
You should start by checking whether OpenSSH is already installed. Using an Administrators Window PowerShell terminal, run this command:
Get-WindowsCapability -Online -Name "Open*"You can see in the screenshot below that OpenSSH client is installed but OpenSSH server is not.
You can install both the OpenSSH server and the OpenSSH client using either Windows settings or PowerShell, as explained below.
Installing OpenSSH using Windows Settings
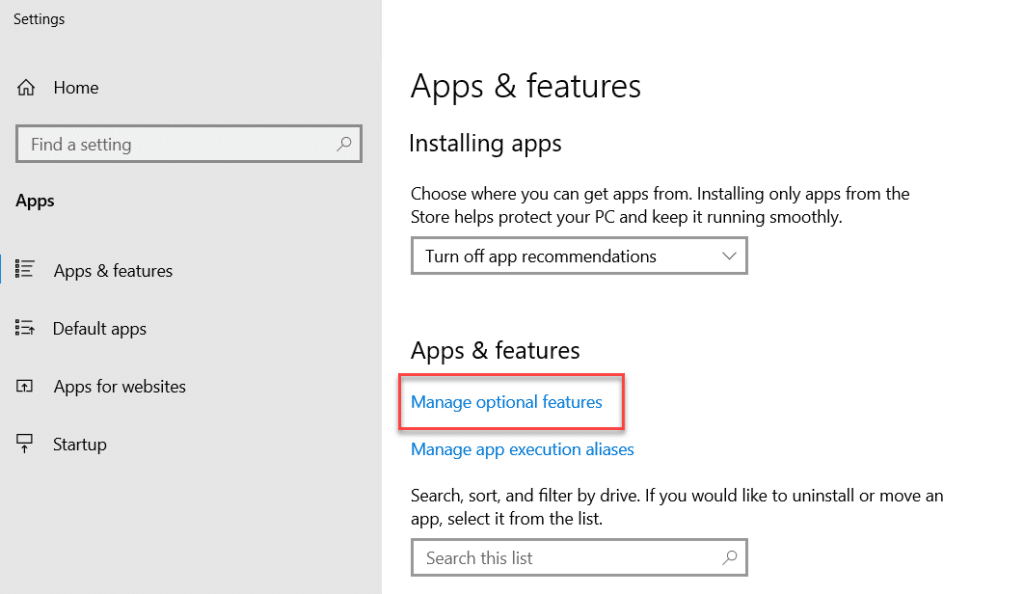
- To start, go to the Apps & features section of Settings and click Manage optional features.
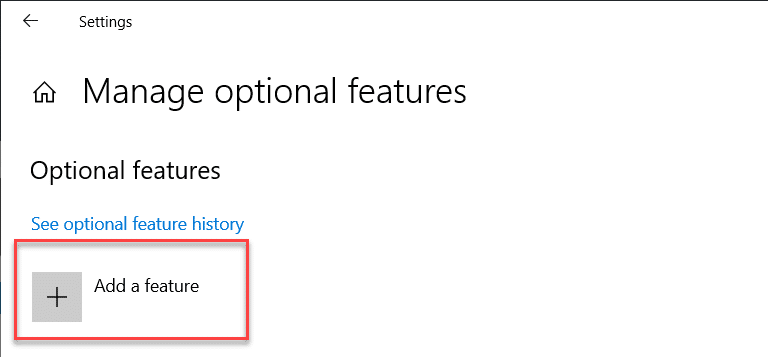
- Click Add a feature.
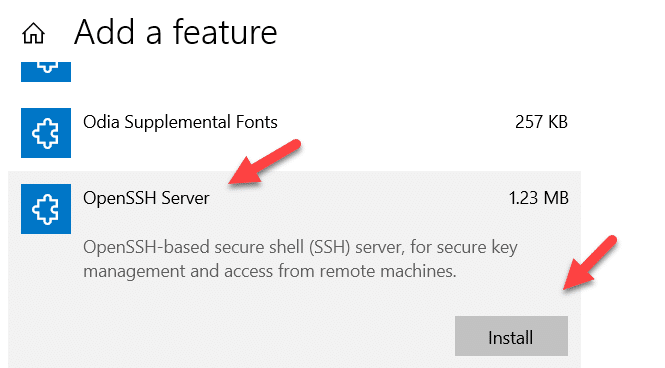
- To install the server component, select OpenSSH Server and click the Install button.
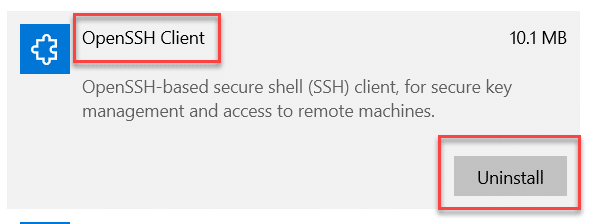
- Next, install the SSH client. Select OpenSSH Client and click Install. Note that if the client is already installed, you will see an Uninstall button instead, as shown below; in that case, no action is necessary.
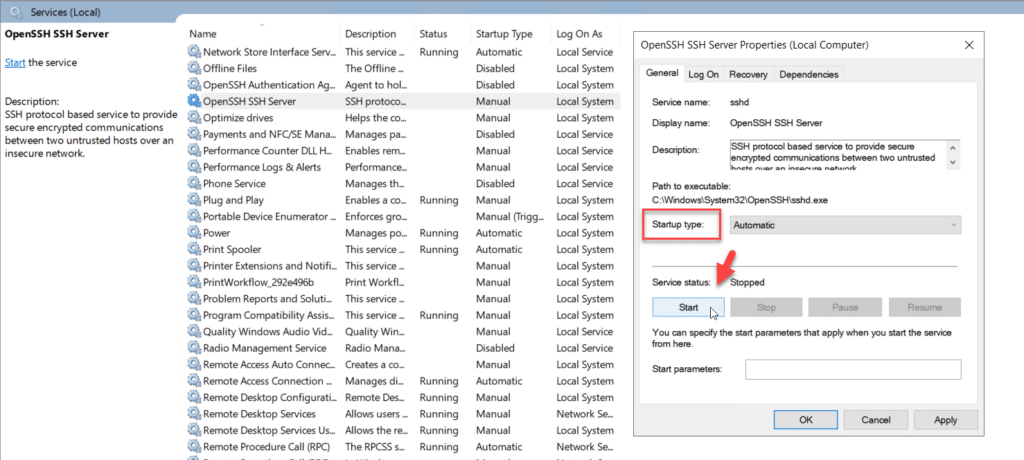
- Configure the OpenSSH service to run automatically using Windows Services Manager, as illustrated in this screenshot:
- If Windows Defender Firewall with Advanced Security is enabled, you will have to open port 22, which is assigned to SSH by the Internet Assigned Numbers Authority (IANA).
Using PowerShell to Install OpenSSH
Alternatively, you can install the OpenSSH server and client components using Windows PowerShell.
- Install the OpenSSH server component using the following command:
Add-WindowsCapability -Online -Name OpenSSH.Server~~~~0.0.1.0

- Then install OpenSSH client using the following command:
Add-WindowsCapability -Online -Name OpenSSH.Client~~~~0.0.1.0- Then use the following PowerShell commands to configure the OpenSSH service and start it.
Start-Service sshd
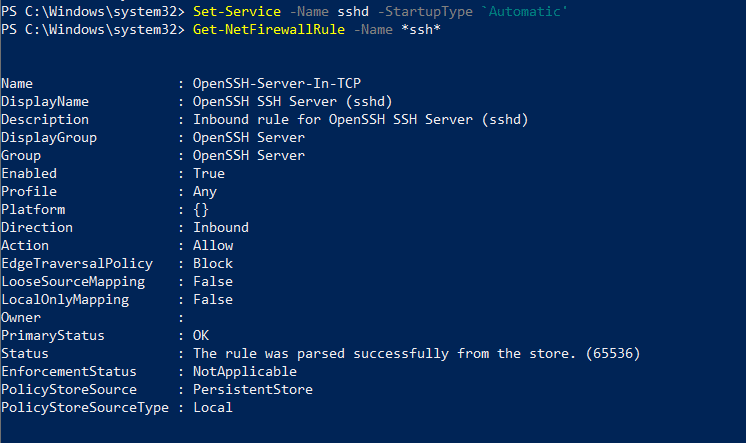
Set-Service -Name sshd -StartupType ‘Automatic’
- As noted earlier, port 22 must be open on the firewall. You can quickly check whether a firewall rule is already configured for OpenSSH using the following command:
Get-NetFirewallRule -Name *ssh*The output below shows that a rule has already been created.
If the rule is absent, use the following command to open the SSH port:
New-NetFirewallRule -Name sshd -DisplayName ‘OpenSSH Server (sshd)’ -Enabled True -Direction Inbound -Protocol TCP -Action Allow -LocalPort 22- Last, ensure that everything is set up correctly and the OpenSSH daemon is listening for incoming connections. To test the connection, run the following command from a different server or desktop machine:
Test-NetConnection -ComputerName <computer name> -Port 22 -InformationLevel DetailedIf the test is successful, you will see something like this:

If it fails, then it could mean several things related to network connectivity; such as the Firewall rule not being created or enabled on a remote computer.
How to Move a File using SSH
Moving a file using SSH is nearly the same as moving one with an FTP application like WinSCP. Note that you must have permission to read the file on the source machine and write permission on the destination directory.
Moving a File using WinSCP
First, let’s first use the WinSCP utility to test out the new SSH server. (If needed, you can download WinSCP here.) Note that if you use WinSCP, you do not need to enable the OpenSSH client.
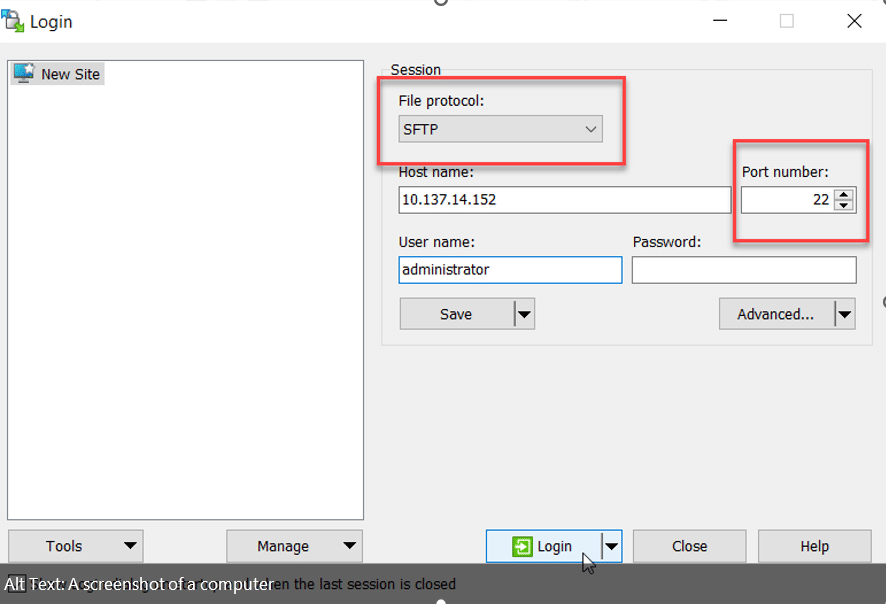
- Open WinSCP and define a new connection to the server: Choose New Site, make sure that the file protocol is set to SFTP and the port is set to 22 (the default values), and input a username, as shown in the example below.
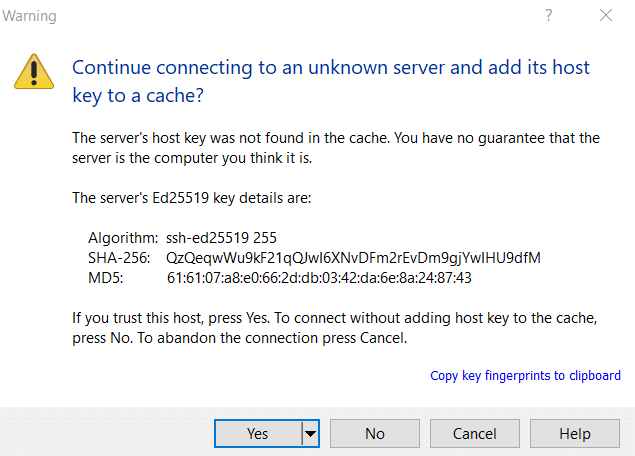
- Click the Login button and supply the password for the account you specified. The next dialog box will display the server’s ECDSA key fingerprint, as shown in the screenshot below. This key is used primarily to ensure that the client is communicating with the right server. When the client connects to the server for the first time, the public host key is passed on to the client. Click Yes to proceed.
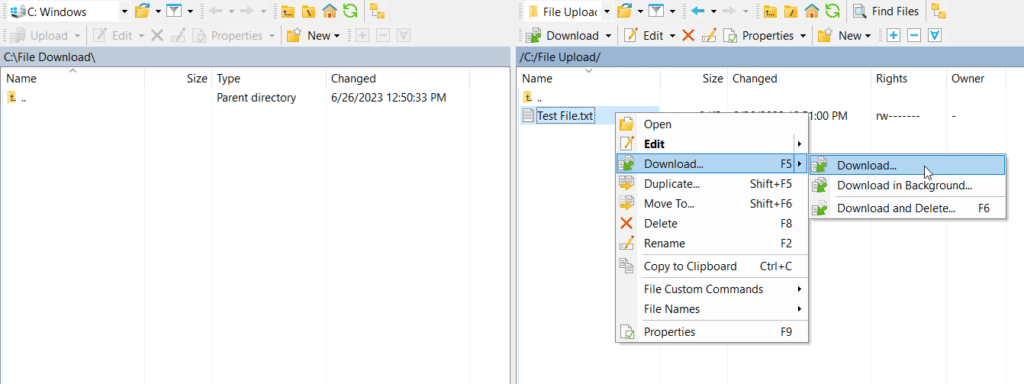
- In the next window, the left pane will display the source machine’s default folder, and the right pane will display the default folder for the user on the target server. Navigate to the desired folders. In the example below, we right-clicked on a file to download it to the client device. Alternatively, you can drag the files from one side to the other.
Copy a File or Directory using OpenSSH
To copy a file using Windows OpenSSH, you can use the following PowerShell command. Note that both the OpenSSH server and client must be enabled.
scp <filename> <username>@<hostname>:<directory_path>To copy an entire directory, use the following command.
scp -r <local_directory_path> <username>@<hostname>:<remote_directory_path>If the directory does not exist on the target server, it will be created (assuming you have permission to do so).
You can also copy files back and forth from Linux and Unix servers to Windows servers and desktops.
How Netwrix Can Help
If you are moving or copying data files, chances are you need to protect that data — not just during the transfer operation but throughout its lifecycle. Data access governance software from Netwrix provides an effective and scalable approach to file activity monitoring. Moreover, it will help you reduce the risk of cybersecurity incidents by enabling you to understand who has access to what and strictly limit access to sensitive data. You can:
- Audit activity across your IT ecosystem.
- Reduce access to sensitive data to the required minimum to reduce the risk of insider threats and minimize the damage from ransomware and other attacks.
- Streamline regular privilege attestations by data owners.
- Protect sensitive data whenever it goes with accurate and consistent tagging of content.
Frequently Asked Questions
How do you move a file using SSH?
When working with Unix-like systems, you can use the mv command to move a file from one location to another on a remote server using SSH.
For Windows machines, you can either install a third-party SSH server and client application, or enable the OpenSSH feature (requires Windows Server 2019 or 2022, or Windows 10 or 11).
In either case, you must have the logon credentials to connect, as well as the necessary permissions to read the file on the source machine and write permission on the destination directory.
Does SSH allow file transfer?
Yes. SSH includes the Secure Copy protocol (SCP) and SSH File Transfer protocol (SFTP), which enable the secure transfer of files between a local host and a remote host.
How can I transfer files from an SSH server to a local machine?
One way to transfer a file from an OpenSSH server to a machine with a supported version of Windows or Windows Server is to use the following PowerShell command:
scp C:\path\to\local\file username@remote-server:/path/to/remote/directory- Replace C:\path\to\local\file with the path to the file you want to copy on your local machine.
- Replace username with the username on the remote server. (You will be prompted for the password.)
- Replace remote-server with the hostname or IP address of the remote server.
- Replace path/to/remote/directory with the path to the directory on the remote server where you want the file copied.
Alternatively, you can use third-party SSH utilities that offer easy-to-use menus.